Fun Ways to Learn About Elections

Are Your Vocabulary Lessons in a Rut?
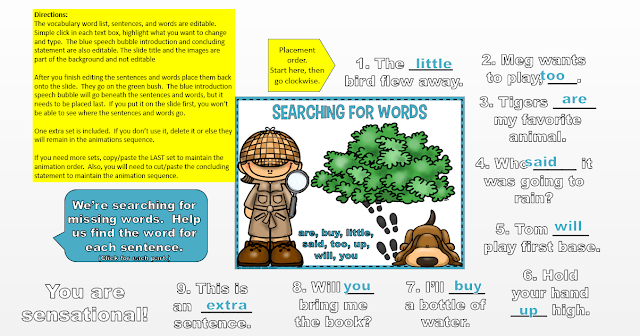
Are you stuck in a rut with your vocabulary lessons? I have a way to make them fun and engaging. You can use PowerPoint or Google Slides to introduce, practice, and even quiz students on their spelling and vocabulary words. Don't worry that you're not an expert with PowerPoint or Google Slides. I've created the templates, complete with animations; all you need to do is type in your content!
It really is that simple. Each slide template had editable text boxes. You type in your words, sentences, clues, etc., and then you move these text boxes onto the slide, and it's all set. Watch this quick video, called Word Jar, to see how easy it is.

5 Activities for a Positive First Week of School
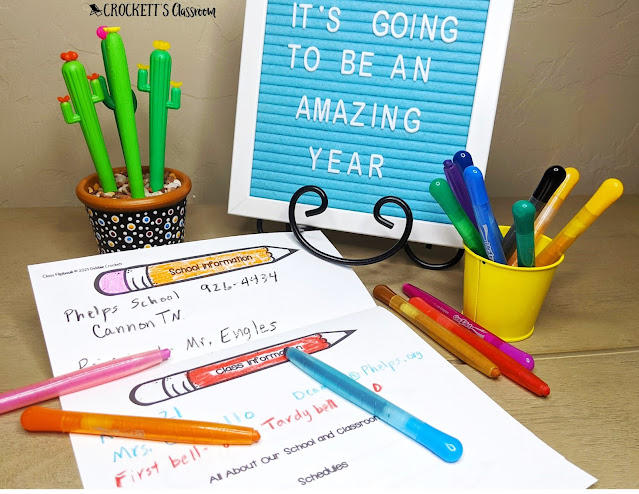
1. Parent Questionnaire
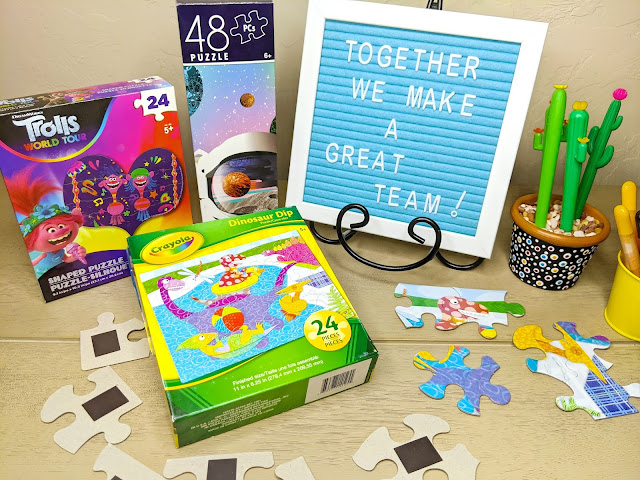
3. Great Team Puzzle

Fun Activity for Informational Text
One of my favorite activities with informational text is True and False Facts. It’s super simple. Students can work on their own or with a partner.
- Let them choose a nonfiction (informational) text. It can be from a collection of books on a topic you’re studying or one on a topic they choose.
- As they read the book, they jot down interesting facts.
- Encourage them to collected 15-20 facts.
- Next, have them change five of these true facts into false facts. This can be done by changing one small thing about the fact. For example, if the fact mentions a location, they can change it to a different, false, location.
False: Mt. Everest is the tallest mountain in Europe.
- Now they have five false facts and 10-15 true facts. Write the true and false facts on separate cards.
- Students exchange fact cards and sort them into true/false stacks.
- To strengthen research skills, keep the book with the fact cards. That way, students can find the evidence for the true and false facts in the text while they sort the cards.

Class Journals Are Just What You Need!
Many teachers have their students use individual journals. I’ve had journals for reading, writing, and the content areas of science and social studies. Journals are a great way for students to keep important information, class notes, and reflections on their learning. But, have you tried class journals?
Class journals are used by all students. These special journals can be a way to share common experiences and build a strong community. The journals can keep a record of class meetings, collect thoughts on current events, write continuing stories, chronicle class or school news, share book reviews, or respond to current read-aloud. The list is endless.
Tips and Suggestions:
-A composition book holds up better than a spiral notebook.
-Set up a rotation schedule to make sure all students get a chance to write in the journal.
-Have a different journal for different purposes. You can have several class journals, don’t try to keep current events in the same journal with a journal with continuing fiction stories.
-Attach a library pocket to the front. The card in the pocket will keep a list of students who have written in the journal with the date of their entries. (See the freebie below.)
-Decide if students write in the journal at school, at home, or both. If students are adding a story, it could be their homework for the week. If the journal is for reflections on a book read to the class, the student can be given time to write during the school day. Writing in the class journal could even be one of your literacy centers.
However you use a class journal, I know your kids will love them!

Make a Book About Books
Everyone loves to listen to stories. Even as an adult, I listen to recorded books all the time. As a teacher, I read aloud to my students every day, throughout the day. One author I returned to again and again was Patricia Polacco. Her books are not only filled with her beautiful artwork, but they also tell beautiful stories.
This is the first in a series of blog posts that highlight books by Patricia Polacco with suggestions for how to use them in your classroom. I’m starting with a book you may not be familiar with . . . Aunt Chip and the Triple Creek Dam Affair.
The people of Triple Creek “use” books all the time. They use stacks of books as tables and stools, to fill potholes, and even to build the Triple Creek Dam. But no one knows how to read. As Aunt Chip tells her nephew, Eli, it all started when the town tore down the library to put up a giant TV tower. She told them there would be consequences! Aunt Chip begins telling Eli stories from the books she remembers. He shares these stories with his friends. Soon, they all want to learn how stories can come from books.
It isn't long before the kids are grabbing books from everywhere and begging Aunt Chip to teach them to read. Then the children are teaching their parents to read, too.
Aunt Chip and the Triple Creek Dam Affair is a great book to share with your students during the first few weeks of school. You can focus on how much reading and books impact our lives. Discussions with younger students can be about taking care of books. Older students can learn about genres and how reading is important in all parts of our lives.
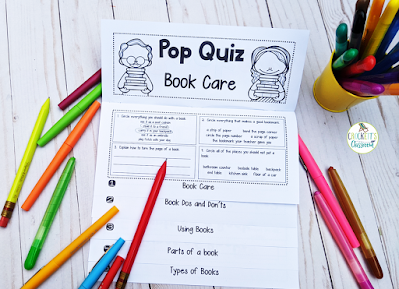
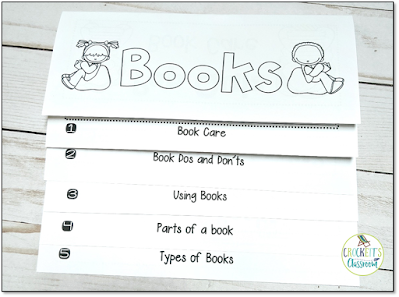
I’ve created a flap-book that teaches kids all about books--
-how we take care of books
-book dos and don't
-how we use books
-parts of a book
-types of books

Click on the image below to get a free copy of this activity to use with your kids!

Making a Digital Planner Work for You
Digital Planners: Making them Work for You
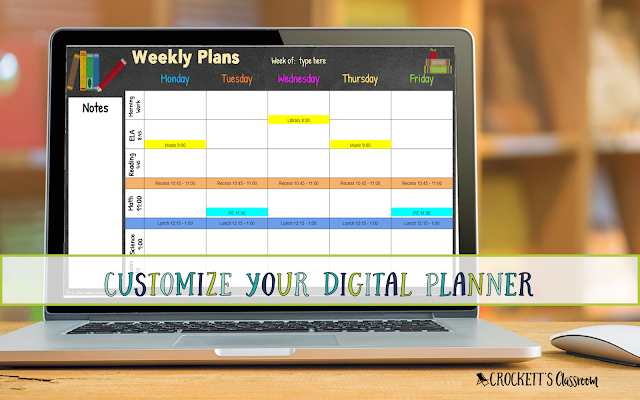
One of the biggest advantages of digital planners is being able to customize it to be exactly what you need. Customizing can be as simple as typing in your name and class information to adding columns and rows in a table. I’ve put together directions and a few videos that will help you customize your digital planner.
Before you begin customizing your digital planner I highly recommend making a copy of the original file and saving it with a new name. This will preserve the original version. You’ll want to keep the original untouched, just in case you want to go back and begin the customizing again.
The digital planner I’m customizing is in Google Slides, but the directions for PowerPoint would be almost the same.
Editing text boxes: You’ll know a text box is editable when you click in the box and see a blue frame. When you see that frame you can change the text in that box. Now you can change the font, font size, and font color. And, of course, you can change what the text says. If you want to move the text box, click on the frame. You’ll see the four-sided arrow and can then drag the box to a new location. Click outside the text box when you’re finished. You can also do a copy/paste for the text inside a box, or the entire text box. Ctrl C will copy and Ctrl V will paste.
Editing Tables: The core of any planner is the planning pages. Most weekly planning pages are created with tables. The first thing you need to decide is where you like the subjects and the days. You can have the subjects on top and days down the side or days across the top and subjects down the side. After you decide which style you want, delete the other slide. (Don’t worry, you have the original version saved so you can get that page back later if you change your mind.)
Now, you’re ready to adjust the table for the number of subjects you have. With the subjects at the top of the columns, you can add or delete columns. If your subjects are down the side, you can add or delete rows.
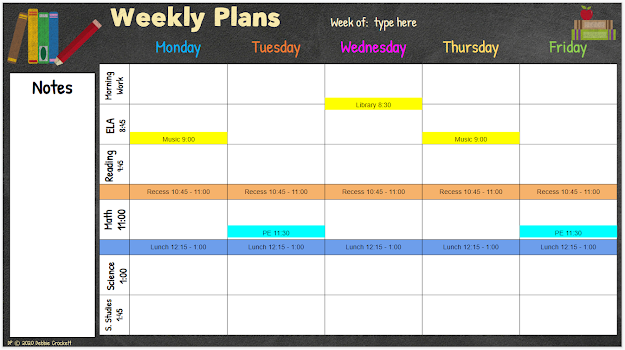
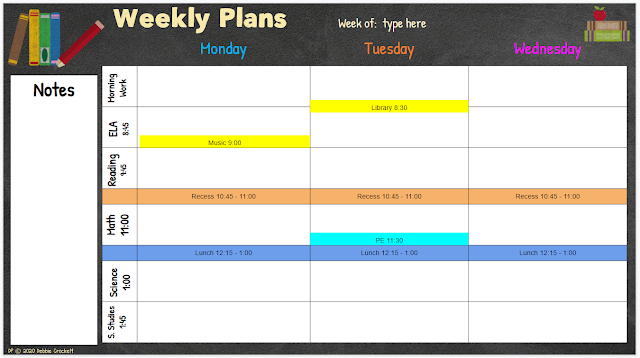
The first thing I do is things in my schedule that are the same every week. I add a column or row with recess and lunchtime. If my specials (music, PE, and library) are the same time every day, that will be another row or column. If my special are at different times each day, I can split a cell, or add a text box to a cell.
After you have the weekly plan page set up, you can duplicate that page for each week of the school year. I usually duplicate it for just the weeks in the first quarter, just in case I need to make changes for the next quarter.
Here’s an example of a planner page set up with rows for lunch and recess. Text boxes for music, PE, and library have been added, too.
Here’s another trick. If you want more room to type in your plans, you can split the plans for one week into two slides. You’ll need to use the plan page with the days across the top.
I hope you'll check out my digital planner. It has dozens of pages to keep your information


